Links below are affiliate links. We earn a commission on purchases at no extra cost to you.
Authentic Venezuelan Arepas Recipe: Cozy Corn Comfort
Discover the delicious secret behind authentic Venezuelan arepas that deliver crispy crusts and soft centers; dive into this cozy corn comfort now.

Why You’ll Love these Authentic Venezuelan Arepas
There are plenty of reasons you’ll fall for these authentic Venezuelan arepas, but let’s start with the basics: they’re ridiculously versatile.
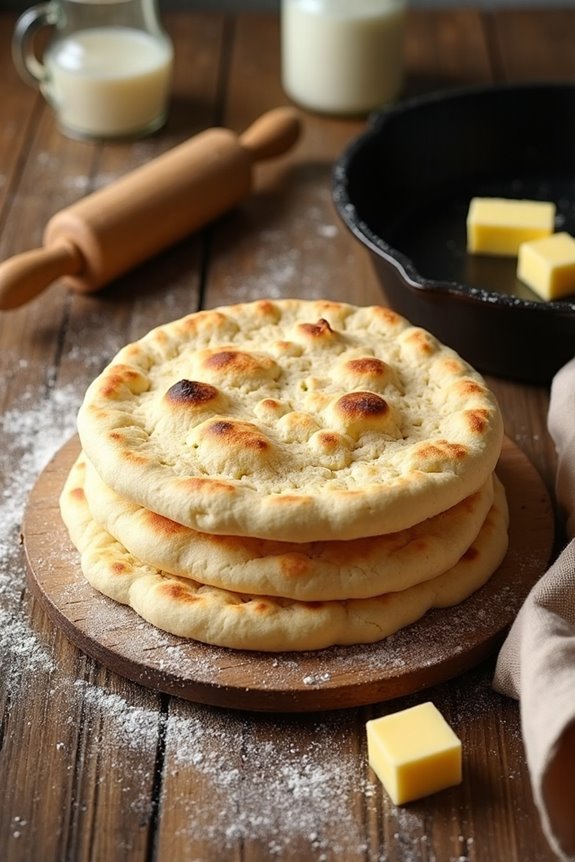
Imagine a crispy, golden crust giving way to a soft, warm center—that’s your blank canvas. You can stuff them with just about anything: cheese melting into every nook, savory ham, or even a dollop of butter that seeps into the crumb.
They work for breakfast, lunch, dinner, or a snack that feels like a mini celebration. Plus, they’re super forgiving. Mess up the shape? No worries, they still taste amazing.
Need a quick fix? They’re ready in under an hour, and you don’t need fancy equipment. Honestly, arepas are like that trusty friend who’s always there—comforting, reliable, and ready to surprise you.
What Ingredients are in Authentic Venezuelan Arepas?
Alright, if you’re about to tackle authentic Venezuelan arepas, the ingredient list is surprisingly short and sweet. It’s all about keeping things simple, letting the cornflour shine, and trusting the process. You don’t need a pantry full of exotic stuff—just a few basics that come together to make that perfect dough, crispy on the outside, tender on the inside.
You may be interested


It’s kind of amazing how just three main ingredients can create such a versatile masterpiece. Ready to jot them down?
- 4 cups water (lukewarm or cold)
- 3 cups cornflour (specifically Harina P.A.N., which is the classic pre-cooked cornmeal)
- 1 teaspoon salt
- Vegetable oil (for cooking)
Now, a quick heads-up about the magic ingredient here: Harina P.A.N. This is the pre-cooked cornflour that gives arepas their unique texture and flavor. It’s not just any cornmeal, so if you grab something else, you might end up with a dough that’s either too gritty or too sticky.
And about the water—lukewarm helps the flour absorb evenly and keeps lumps at bay—but cold works too if you’re patient mixing. The salt? Just enough to bring out the flavor, not to punch your taste buds.
And don’t forget the vegetable oil for that skillet sear. It’s the unsung hero that crisps up the arepa without sticking or burning. So yeah, while the list looks short, each ingredient plays a starring role in this simple, satisfying culinary trio.
How to Make these Authentic Venezuelan Arepas

Alright, ready to plunge into making some authentic Venezuelan arepas? Start by grabbing 4 cups of water—luke warm or cold works fine—and pour it into a bowl. Then add a teaspoon of salt and mix that up really well.
Now, here’s where the magic begins: slowly sprinkle in 3 cups of cornflour (Harina Pan, if you want to be exact), but don’t just dump it all in at once. Add it little by little, mixing with your fingers in a circular motion so you avoid those annoying lumps that love to sneak in. It’s a bit like coaxing the dough to behave, so be patient.
Once all the flour is incorporated, let the dough rest for about 5 minutes—this little pause is key for the flour to hydrate properly and makes shaping easier.
Next, shape the dough into snowball-sized balls, then gently squeeze them in your palms until you have discs about 2 inches thick. It’s sort of like making little doughy hockey pucks.
Heat up an iron skillet on the stove and splash in a bit of vegetable oil—just enough to keep things from sticking and help get that golden crust. Place your arepas on the skillet and let them toast until the bottom side is beautifully browned. That’s when you flip them carefully (watch out, skillet’s hot!) to toast the other side.
Once both sides have that toasty, slightly crispy look, pop the arepas into a preheated oven at 350 degrees Fahrenheit for 20 to 30 minutes. This finishing step guarantees the inside cooks through without drying out.
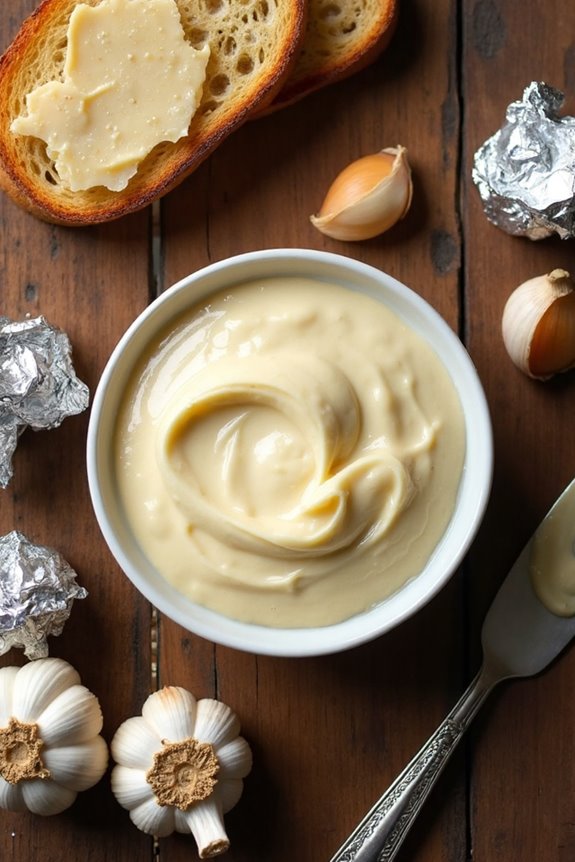
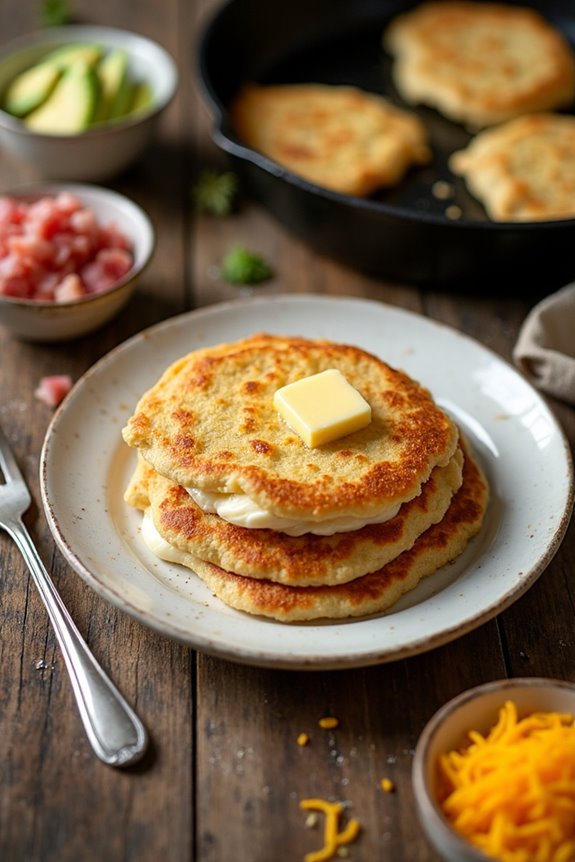
Now comes the best part: the toppings. Arepas are like a blank canvas—open them up in the middle and spread in some butter, melt in your favorite cheese, or pile on ham.
The options really are endless, and honestly, that’s what makes arepas such a fun and versatile treat. So go ahead, get creative, and enjoy a taste of Venezuelan comfort food right at home. For an even smoother preparation, consider using a high end food processor to mix your dough perfectly.
Authentic Venezuelan Arepas Substitutions and Variations
Although the classic Venezuelan arepa recipe calls for specific ingredients, swapping things up can be a real game-changer when you want to tweak the flavor or work with what’s on hand.
For instance, if you can’t find Harina Pan, a fine cornmeal or even masa harina can step in, though the texture might shift a bit—think softer or a tad crumbly.
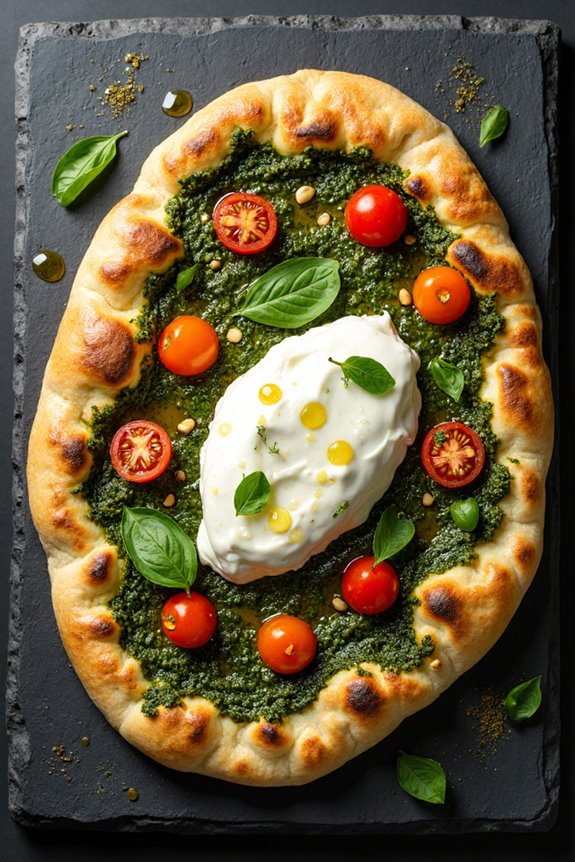
Want to add a twist? Try mixing in a pinch of cheese or herbs right into the dough for a subtle surprise.
Feeling bold? Sweet potato or pumpkin puree can sneak in moisture and sweetness, turning these corn pockets into something a little different but still cozy.
Just remember, changing water ratios might be necessary to keep that perfect, moldable dough—don’t let it get too sticky or dry!
What to Serve with Authentic Venezuelan Arepas
When you think about what to serve with authentic Venezuelan arepas, the possibilities can feel both exciting and a bit overwhelming—there’s just so much you can do.
Arepas are like little edible canvases, ready to be stuffed or topped with whatever you crave. Classic fillings like shredded beef, black beans, or avocado bring hearty comfort, but don’t overlook simple options like butter and queso fresco—sometimes less is more.
A fresh salad with tangy lime dressing or some pickled onions can cut through the richness perfectly. And if you want a real flavor punch, a side of guasacaca, a Venezuelan avocado sauce, is a must.
Honestly, arepas play well with so many sides and toppings, it’s hard to pick just one favorite.
Final Thoughts
Even if you’re just starting out with arepas, you’ll find they’re surprisingly forgiving—kind of like that friend who always manages to show up on time, no matter what.
Getting the dough right is easier than it seems; just mix water, salt, and cornflour slowly to avoid lumps, then shape and cook. Toasting them in a skillet before baking locks in that golden crust and soft interior, a texture combo that’s pure comfort.
The real fun? Filling them with anything from cheese to ham—or just a pat of butter. Arepas are like a blank canvas waiting for your creativity.