Links below are affiliate links. We earn a commission on purchases at no extra cost to you.
Creamy Roasted Garlic Recipe for Bread Lovers
Creamy roasted garlic transforms simple bread into a flavorful delight—discover the secret to this irresistible spread that elevates every bite.
Why You’ll Love this Creamy Roasted Garlic
While roasted garlic might sound fancy, it’s honestly one of the easiest ways to turn boring bread and butter into something downright addictive.
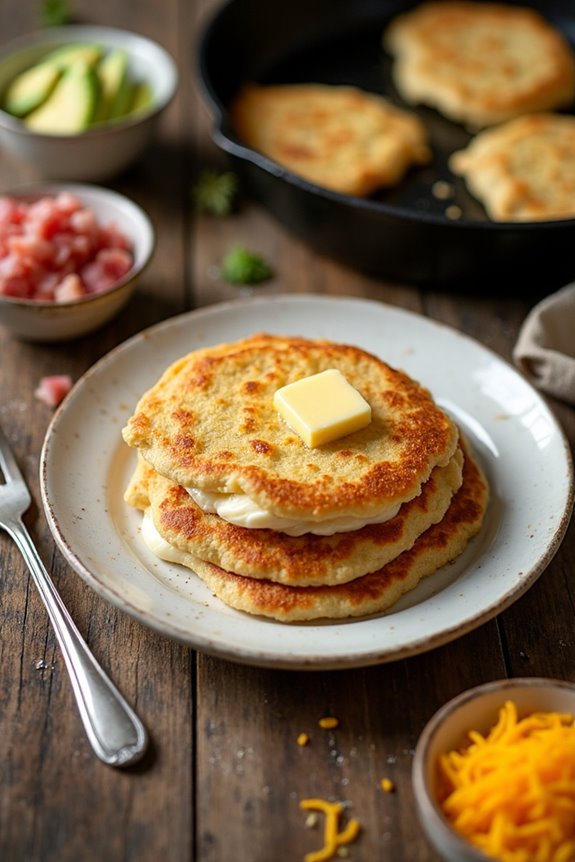
Imagine squeezing soft, sweet garlic puree onto warm, toasted baguette slices—like a flavor explosion in your mouth. It’s creamy, mellow, and way less harsh than raw garlic, which means no dragon breath regrets later.
The texture? Perfectly smooth, almost buttery itself, so it blends effortlessly with softened butter. Plus, it’s incredibly versatile. You can dollop it on veggies, mix it into mashed potatoes, or just eat it straight off the bread if you’re feeling rebellious.
It’s comfort food with a gourmet twist. Honestly, why settle for plain butter when this simple upgrade makes every bite memorable? It’s garlic, but kinder and way more charming.
What Ingredients are in Creamy Roasted Garlic?
Alright, let’s talk ingredients for this creamy roasted garlic magic. You don’t need a long list or anything complicated—just a few simple things that you probably already have in your kitchen.
You may be interested


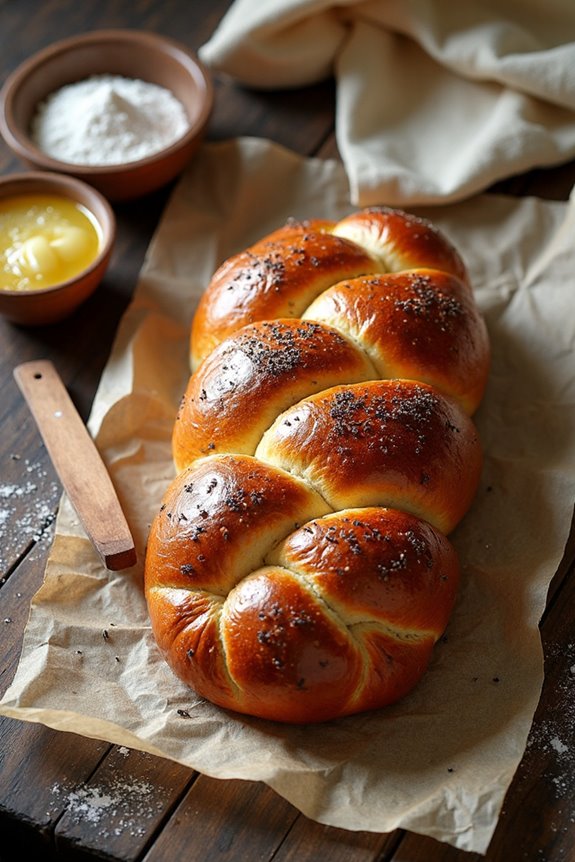
The star here is obviously the garlic, but not just any garlic. We’re talking whole heads of garlic, roasted until soft and sweet, not raw and sharp. Then there’s the bread and butter, because what good is roasted garlic without something to spread it on?
The butter should be soft enough to blend easily with the garlic, and the bread? A crusty, toasted baguette is the perfect vehicle for this creamy spread. Simple, straightforward, and all about that sweet, mellow garlic flavor.
Here’s what you’ll need:
- 1 large head of garlic (one per person if you want to be generous)
- 1 large French baguette, sliced on the diagonal and toasted
- Sweet butter, softened (enough to spread on your bread)
Now, a quick heads-up on the garlic: make sure to remove only the papery outer skin of the whole head but keep the cloves together. Roasting whole heads lets the garlic mellow and caramelize beautifully.
And don’t skimp on the bread—this isn’t the time for soft sandwich bread. You want something with a bit of crunch that can hold up to all that buttery, garlicky goodness.
Also, softened butter is key here; if it’s too cold, it won’t mix well with the garlic puree, and if it’s too melted, well, you might end up with a greasy mess instead of a creamy spread. Balance is everything.
How to Make this Creamy Roasted Garlic
Making creamy roasted garlic is easier than you might think, and it’s one of those kitchen magic tricks that instantly upgrades any meal. Start by grabbing a single garlic head—yes, just one—and preheat your oven to 375 degrees Fahrenheit.
Now, peel away the papery outer layers of the garlic head carefully, but don’t break apart the cloves or peel each one individually. The goal here is to keep the cloves snug inside their little bulb, kind of like a garlic sleeping bag. Wrap that whole head tightly in a big square of heavy-duty aluminum foil, making sure it’s sealed so the garlic can steam and roast in its own juices.
Pop it in the oven for about 1 hour and 15 minutes—that’s the sweet spot for soft, mellow, caramelized garlic.
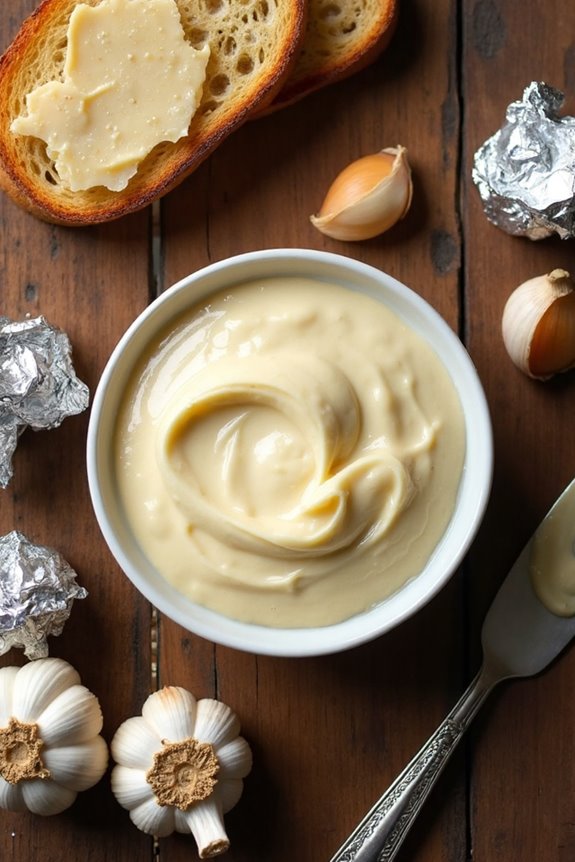
Once the garlic is out and cool enough to handle (let’s say at least five minutes because burnt fingers are no fun), it’s time to get hands-on. You’ll want to gently squeeze the softened cloves right out of their skins. Imagine squeezing toothpaste out of a tube, but way tastier and less minty.
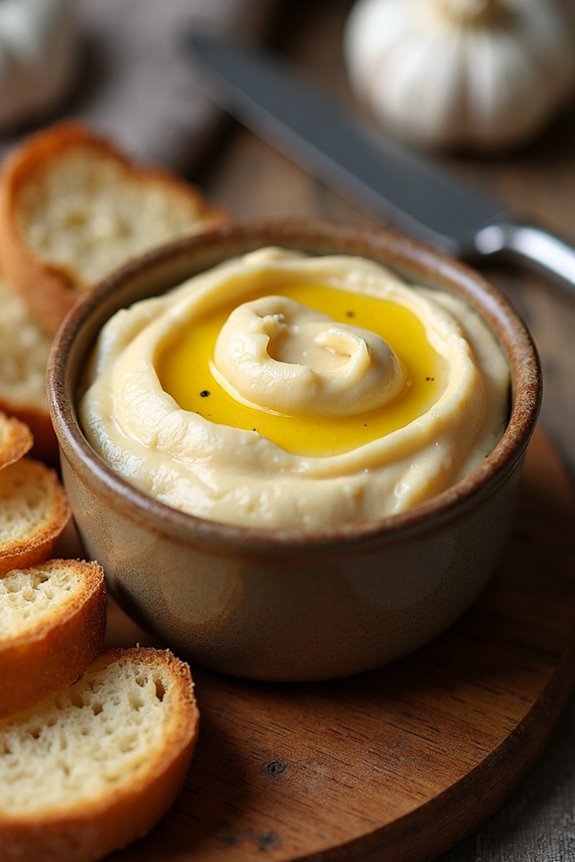
For that super smooth, creamy consistency, press the garlic through a fine mesh sieve with a wooden spatula or spoon. This step might seem a bit fussier, but it’s totally worth it for that silky texture.
If you’re in a rush or feeling lazy (hey, it happens), just squeeze the cloves directly into a bowl, mash them up with a spatula, cover tightly with plastic wrap, and refrigerate.
Either way, you end up with a luscious garlic puree that’s ready to spread on toasted bread or swirl into sauces. And guess what? This puree keeps for months if stored right, especially if you add a little olive oil on top for a longer shelf life.
For an even more effortless blending experience, consider using a premium stand mixer to incorporate your creamy roasted garlic into doughs or batters.
Creamy Roasted Garlic Substitutions and Variations
Once you’ve got that silky roasted garlic puree in hand, it’s fun to think about how you can switch things up or find a substitute when you’re in a pinch.
Say you’re out of fresh garlic heads—no sweat. Roasted garlic from a jar can work, but it’s less sweet, more punchy.
Want a twist? Stir in a little cream cheese or Greek yogurt for extra creaminess, or add a pinch of smoked paprika to give it a subtle smoky vibe.
If you’re feeling adventurous, throw in some roasted shallots or caramelized onions; they blend beautifully and add depth.
Just remember, these variations change the flavor, so start small and taste as you go. It’s all about making the creamy garlic your own, really.
What to Serve with Creamy Roasted Garlic
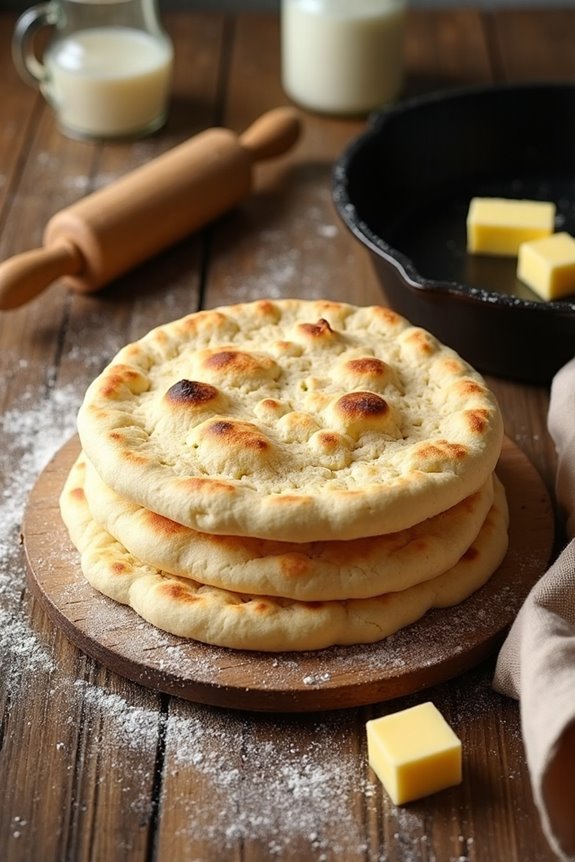
What pairs perfectly with creamy roasted garlic? Bread, of course—crispy baguette slices or soft dinner rolls, just begging to be slathered with that luscious garlic spread.
But why stop there? Roasted veggies like carrots or Brussels sprouts soak up the creamy garlic flavor like a charm.
And salads? Toss some creamy roasted garlic into a vinaigrette for an unexpected punch.
Want something heartier? Imagine dolloping it on mashed potatoes or stirring it into pasta—oh, the flavor boost!
Honestly, it’s like garlic magic that makes everything better, no matter what you serve alongside it.
Just keep a napkin handy; things get messy when you start licking your fingers.
Recommended Products
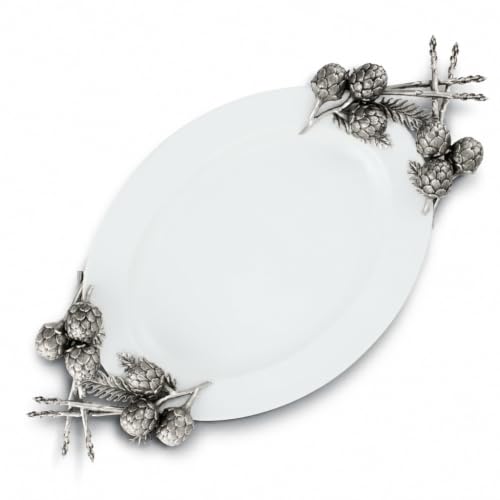
Stunning Design - Realistic artichokes and asparagus emerge from the tray, creating a captivating centerpiece for your table.

Cutting boards made by hand of a single piece of hardwood - no glue! Elevate your cheese board designs, appetizer displays, and food prep.

Final Thoughts
Anyone can turn a humble head of garlic into something downright irresistible with this creamy roasted garlic recipe.
Seriously, it’s like magic—the cloves soften, sweeten, and become spreadable, perfect for slathering on toasted baguette slices. No fancy skills needed. Just wrap whole heads in foil, roast at 375°F for about 75 minutes, then squeeze out that luscious garlic paste.
It’s buttery, mellow, and way better than any store-bought spread. Wondering if it’s worth the wait? Absolutely.
Plus, making a batch ahead and storing it under olive oil? Game changer. Keep it refrigerated, and your kitchen’s secret weapon is ready anytime.